


Maintaining your motorcycle is crucial for ensuring its longevity and optimal performance. One of the most essential maintenance tasks is changing the oil, as it plays a vital role in lubricating engine components and preventing wear and tear. Regular oil changes not only enhance the engine’s efficiency but also contribute to a smoother riding experience.
In this step-by-step guide, we will walk you through the entire process of changing the oil in your motorcycle. Whether you are a seasoned rider or a newcomer to the world of motorcycling, performing this maintenance task on your own can save you time and money. Additionally, understanding the mechanics of your motorcycle and knowing when to change the oil can empower you to take better care of your vehicle.
Before diving into the process, it’s essential to gather the necessary tools and materials. You’ll need the right type of oil for your motorcycle, an oil filter, a wrench, and some basic safety gear. By following this guide closely, you’ll be able to keep your motorcycle running smoothly and efficiently for years to come.
Choosing the Right Oil and Filter for Your Motorcycle
When it comes to maintaining your motorcycle, selecting the appropriate oil and filter is crucial for optimal performance and longevity. The right oil will ensure that your engine runs smoothly and efficiently, reducing wear and tear over time.
Start by consulting your motorcycle’s owner manual, which provides specifications on the type and viscosity of oil recommended for your model. Generally, you will find options such as mineral, synthetic, or semi-synthetic oils. Synthetic oils often offer better protection and performance, especially under high temperatures and extreme conditions.
Viscosity is indicated by the oil’s weight, such as 10W-40. The first number represents the oil’s flow at cold temperatures, while the second number indicates its viscosity at high temperatures. Choose an oil that matches your riding conditions; for example, if you often ride in hot climates, a higher viscosity oil may be beneficial.
In addition to the oil, selecting the right filter is equally important. A quality oil filter will trap contaminants and ensure that clean oil circulates through the engine. Always opt for filters that meet or exceed manufacturer specifications. Remember to replace the filter whenever you change the oil to maintain optimal engine health.
By carefully choosing the right oil and filter, you will enhance your motorcycle’s performance, extend its lifespan, and ensure a smooth riding experience.
Tools and Supplies Needed for an Oil Change
Changing the oil in your motorcycle requires specific tools and supplies to ensure the process is efficient and effective. Below is a comprehensive list of what you will need to complete this task successfully.
1. Oil Filter Wrench: This tool is essential for removing the oil filter. It helps to grip the filter securely, allowing you to twist it off easily without damaging it.
2. Socket Set: A good socket set is necessary for removing the drain plug. Ensure you have the correct size to avoid stripping the bolts.
3. Oil Drain Pan: A sizable oil drain pan is crucial for catching the old oil as it drains from the motorcycle. Choose one that can hold the entire volume of oil from your bike.
4. Funnel: A funnel will make pouring the new oil into the engine cleaner and more precise, minimizing spills.
5. New Oil: Always use the type and grade of oil specified in your motorcycle’s owner’s manual. High-quality oil will protect your engine effectively.
6. New Oil Filter: Replacing the oil filter is vital to ensure that dirt and debris do not re-enter the engine. Choose a filter that meets OEM standards for your motorcycle.
7. Rags or Paper Towels: Keep these handy for cleaning up any spills and for wiping down surfaces, making the process neater.
8. Gloves: Wearing disposable gloves will protect your hands from oil and other fluids, making cleanup easier.
9. Safety Glasses: Protect your eyes from any splashes when draining oil or refilling the engine.
With these tools and supplies, you will be well-equipped to change the oil in your motorcycle effectively, helping to maintain its performance and longevity.
Step-by-Step Process for Draining and Replacing Oil
To change the motorcycle oil effectively, start by gathering all necessary tools and materials, including a wrench, an oil drain pan, a new oil filter, and fresh oil. Ensure you have the correct oil type recommended for your motorcycle model.
Begin the process by warming up the engine. Run the motorcycle for a few minutes to thin the oil, which helps it drain more easily. Once warmed up, turn off the engine and allow it to cool for a few minutes to avoid burns.
Next, place your oil drain pan beneath the engine’s oil pan. Locate the oil drain plug, which is usually at the bottom of the oil pan. Use the appropriate wrench to loosen and remove the plug. Be careful; hot oil may still be present. Allow the old oil to fully drain into the pan.
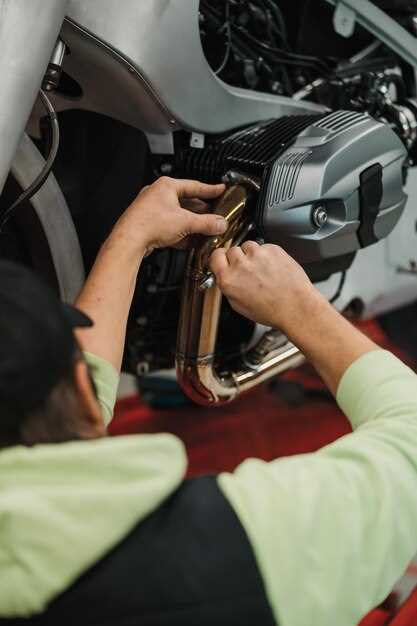
While the old oil is draining, it’s a good time to replace the oil filter. Locate the oil filter, which is often found near the oil pan. Use an oil filter wrench to unscrew the old filter. Before installing the new one, apply a small amount of new oil to the rubber gasket of the new filter to ensure a proper seal. Screw the new filter into place until it’s snug, but do not over-tighten it.
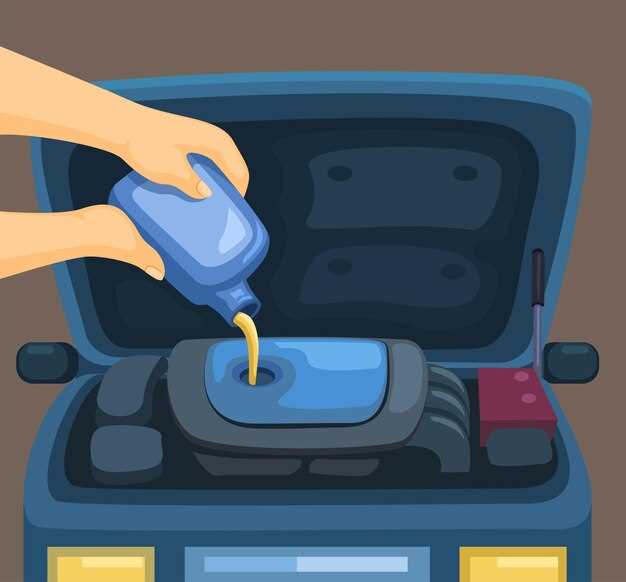
Once the old oil is completely drained, replace the drain plug. Make sure it’s securely tightened to prevent leaks. Now you can refill the engine with the new oil. Remove the oil fill cap and use a funnel to pour in the recommended amount of fresh oil. Check the owner’s manual for the exact quantity needed.
After adding the new oil, replace the oil fill cap and start the motorcycle. Let it idle for a minute, then check for leaks around the oil filter and drain plug. Turn off the engine and wait a few minutes, then check the oil level with the dipstick, adding more if necessary.
Finally, dispose of the old oil and oil filter properly at a recycling center. That’s the complete step-by-step process to change the motorcycle oil, ensuring smooth operation and longevity of your engine.